Risk Management
Add a Risk Scenario
Use Add Scenario in the Risks tab to capture specific risk events for your organization. Each scenario includes a name, description, category, owner, risk scores, treatment plan, and mapped controls.
From the sidebar, go to Risk → Risk Management → Risks, then click Add Scenario.
Step 1: Create the risk with a custom name and description
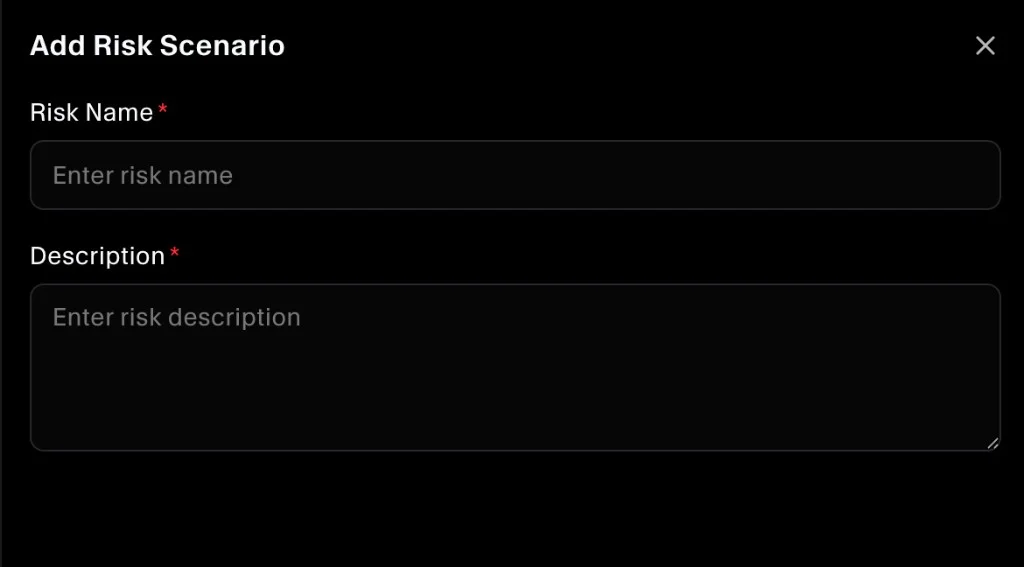
Start by entering the required fields:
- Risk Name: Enter a custom name for the scenario (for example, “Vendor compromise of production systems”).
- Description: Enter a custom description—what could happen, how it might occur, and which assets or processes are affected.
Click Add Risk to create the scenario.
After you add it, the risk appears in the Risks table with a Custom badge.
Step 2: Open the risk to complete the remaining details
Click the new risk to open it. From the details view, you can update:
- Category: Choose one or more categories (including any custom categories you created in Settings).
- Owner: Assign the person responsible for monitoring and treating the risk.
Step 3: Add a risk score
In Risk Score, start with Inherent Risk—the level of risk before considering existing controls.
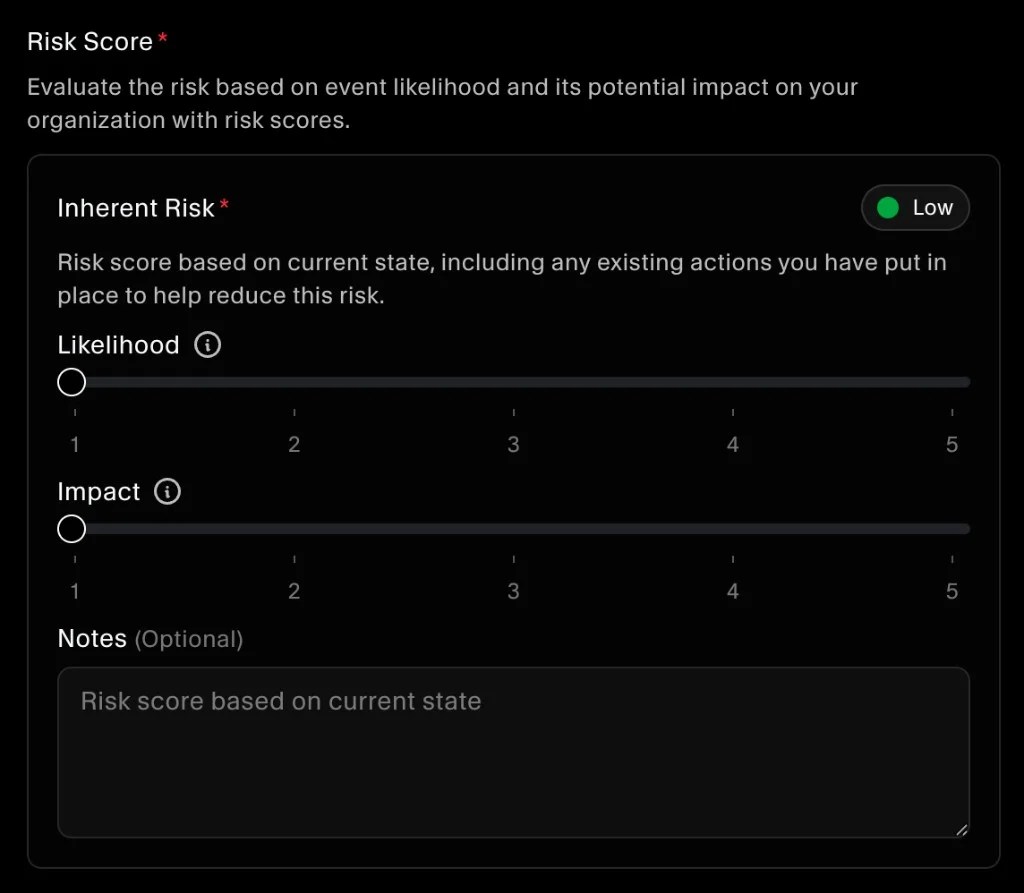
Use the sliders to select:
- Likelihood: How likely the event is to occur (based on the likelihood scale defined in Settings).
- Impact: How severe the consequences would be if the event occurs (based on the impact scale).
As you move the sliders, SecureSlate calculates the inherent risk and shows the overall level (for example, Low, Medium, High, Critical).
Step 4: Select a treatment plan and map controls (optional)
Under Treatment, choose how you plan to handle this risk:
- Mitigate: Implement or improve controls to reduce likelihood and/or impact.
- Avoid: Stop or change activities that create the risk.
- Transfer: Shift responsibility to another party (for example, using insurance or a third-party provider contract).
- Accept: Acknowledge the risk and keep it as is without additional action.
Pick the option that matches your organization’s decision for this scenario. You can later use notes or linked controls to justify the choice.
If needed, use Controls (Optional) to link controls that may reduce the residual risk score.
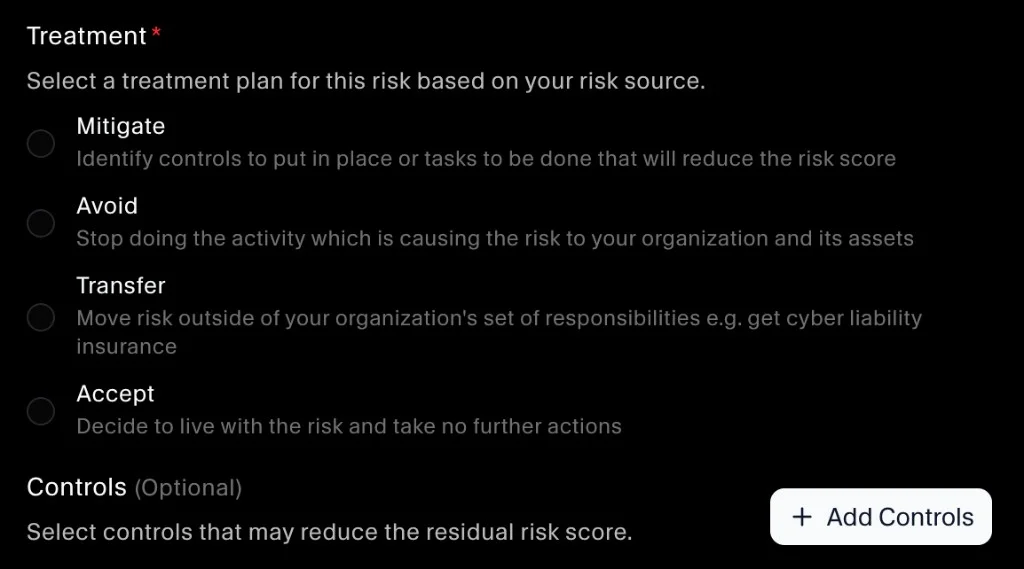
- Click Add Controls.
- Select the relevant controls (for example, vendor management controls, access controls, backup and recovery).
- Save your selections.
Mapping controls makes it clear which safeguards are used to manage the risk and helps tie your risk register back to the Controls workspace.
Step 5: Score residual risk
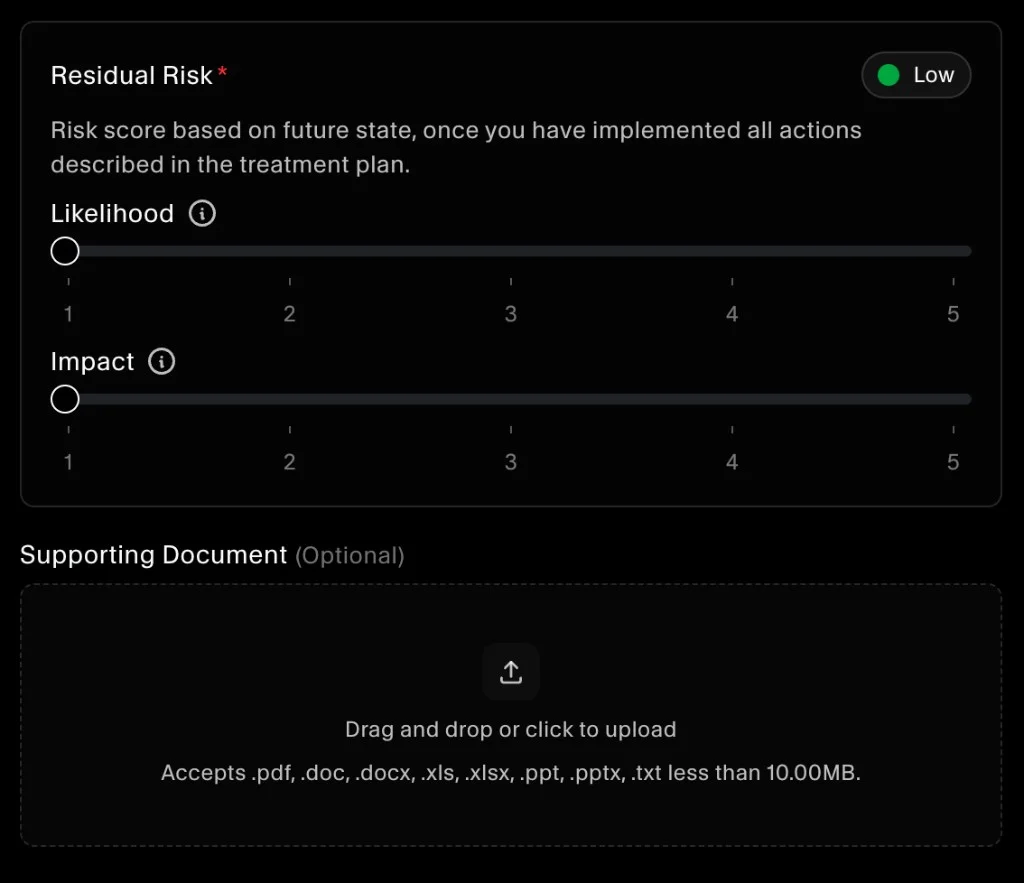
Scroll down to the Residual Risk section.
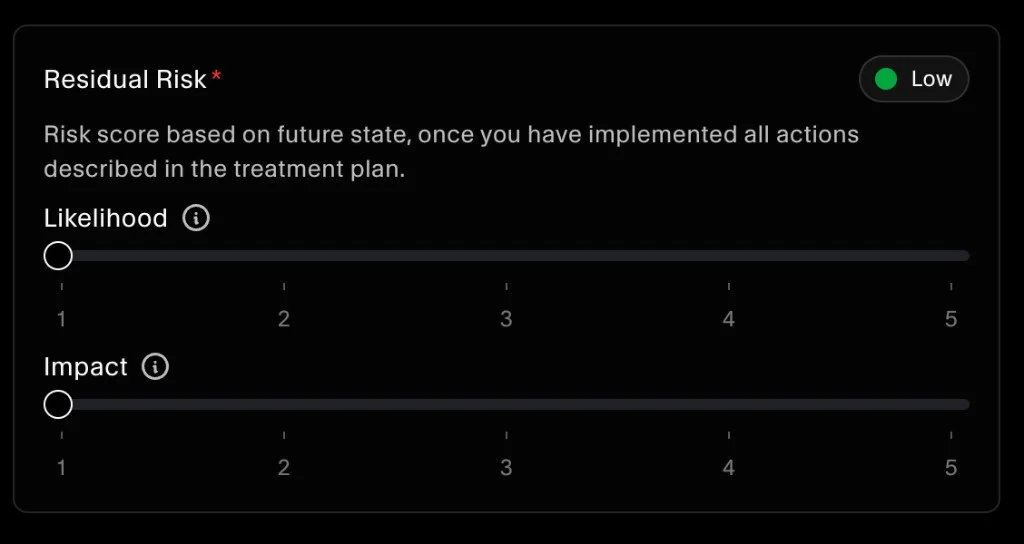
Here you estimate risk after considering existing or planned controls:
- Adjust Likelihood and Impact again to reflect the expected state once controls are in place.
- Confirm the updated residual risk level shown (for example, Low).
Residual risk helps you document how much risk remains after mitigation.
Step 6: Add a supporting document (optional)
In Supporting Document (Optional), you can upload evidence that supports how you’re mitigating the risk (for example, a policy, a risk assessment, a vendor report, or an implementation plan).
Save updates
As you update fields, the risk record is saved and stays available in the Risks table. You can adjust scores, treatment, and mapped controls over time as your environment or mitigation plan changes.
