Policies
Policy Customization
SecureSlate lets you customize policies directly from the policy drawer. You can update the policy name and description, attach a custom template, manage versions over time, and review everything linked to the policy (tests and controls).
Step 1: Open the policy drawer
- Navigate to the Policies page (Policy Library)
- Click the policy you want to customize
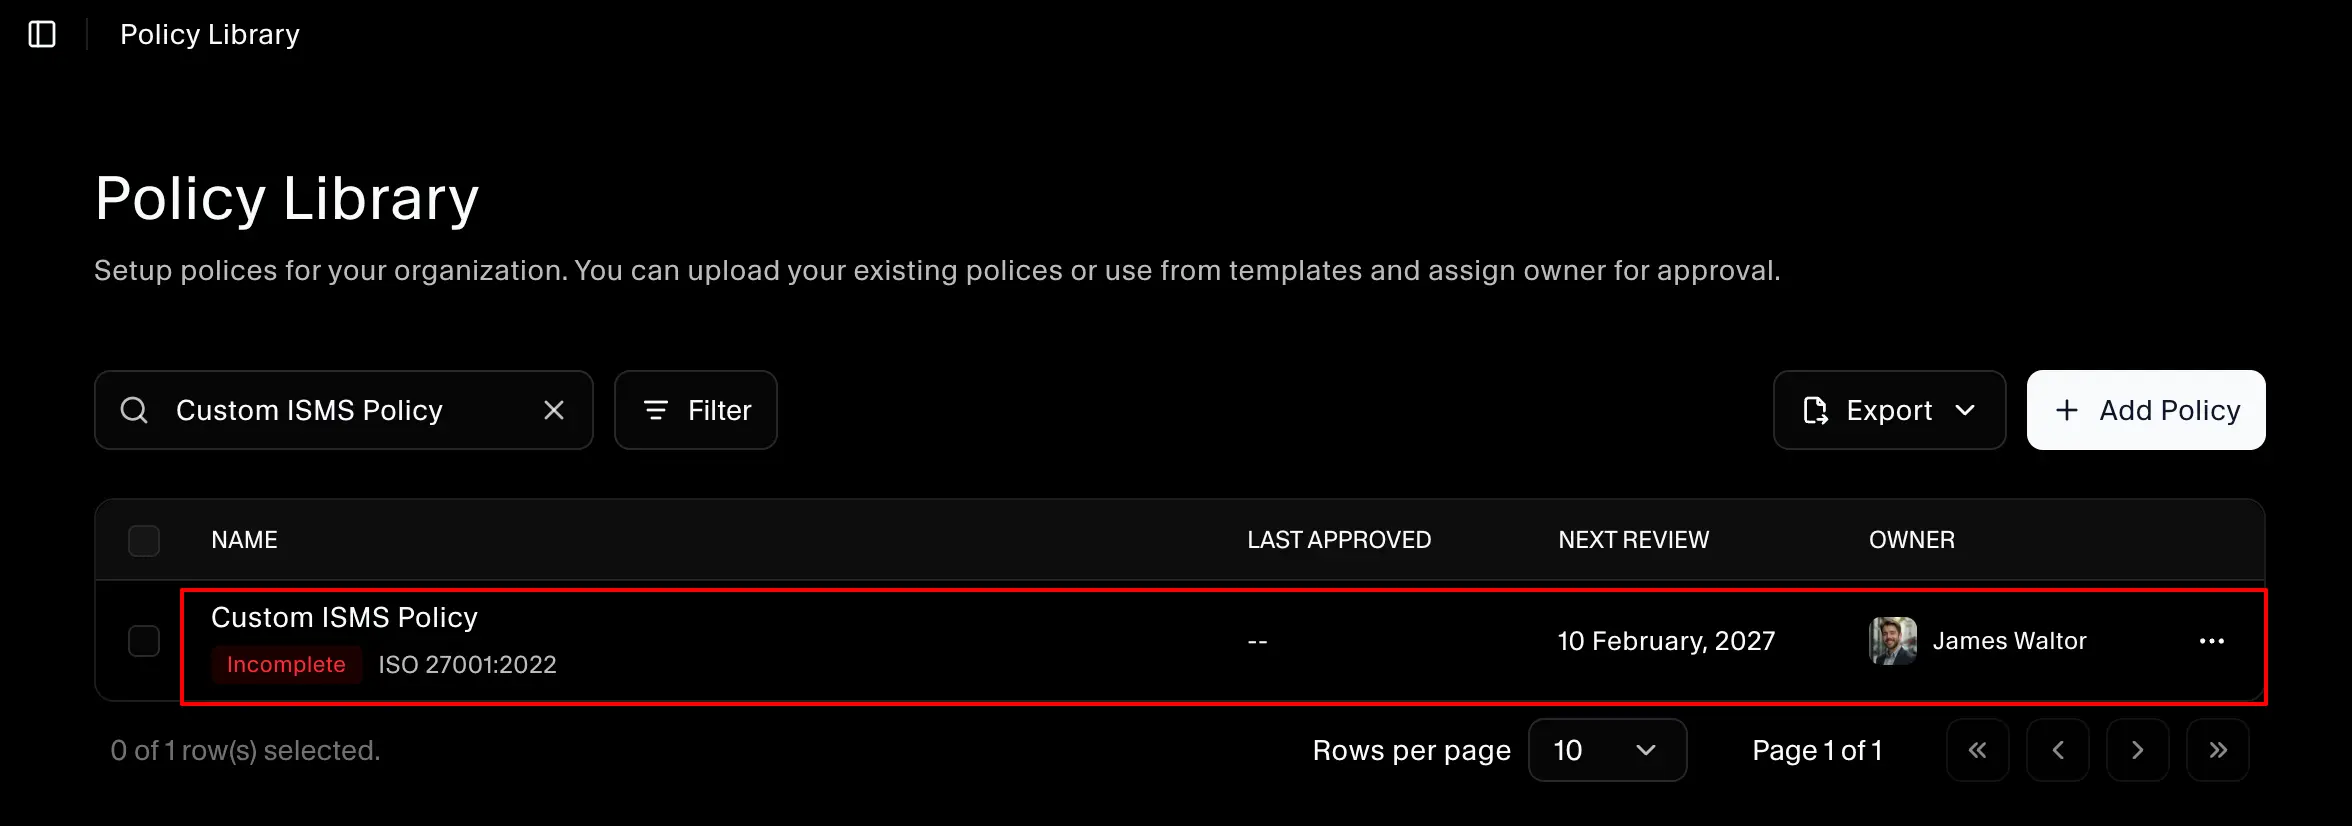
This opens the policy drawer.
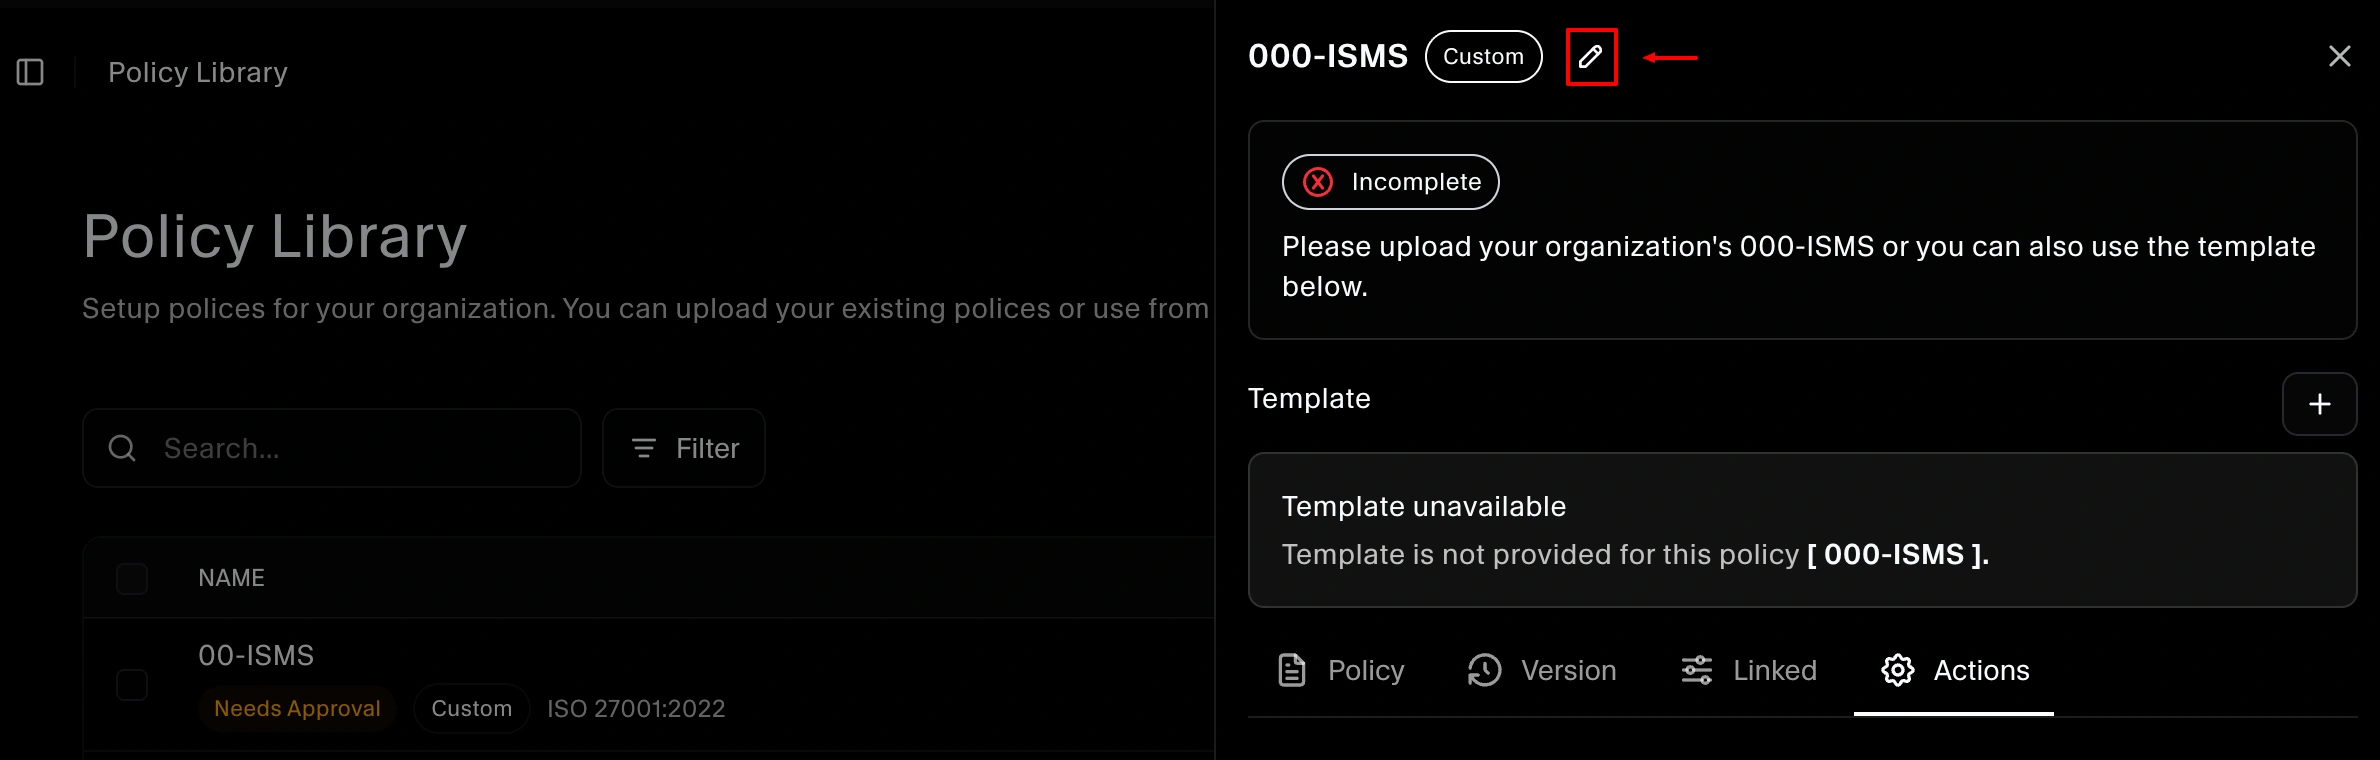
Step 2: Rename the policy (and add an optional description)
In the drawer header (next to the policy title), click the pencil icon.
From there you can:
- Update the policy name
- Add or update an optional policy description
Save your changes to apply the updates.
Step 3: Add a custom policy template (optional)
If you want to attach your own policy document/template:
- Locate the Template section in the policy drawer
- Click the plus (+) icon
- Upload your custom template file

This stores your template with the policy for future reference and review.
Step 4: Store and review versions
Open the Versions tab to manage historical copies of your policy.
To move a policy into the Versions tab:
- In the policy drawer, go to Uploaded evidence
- Click Move to version
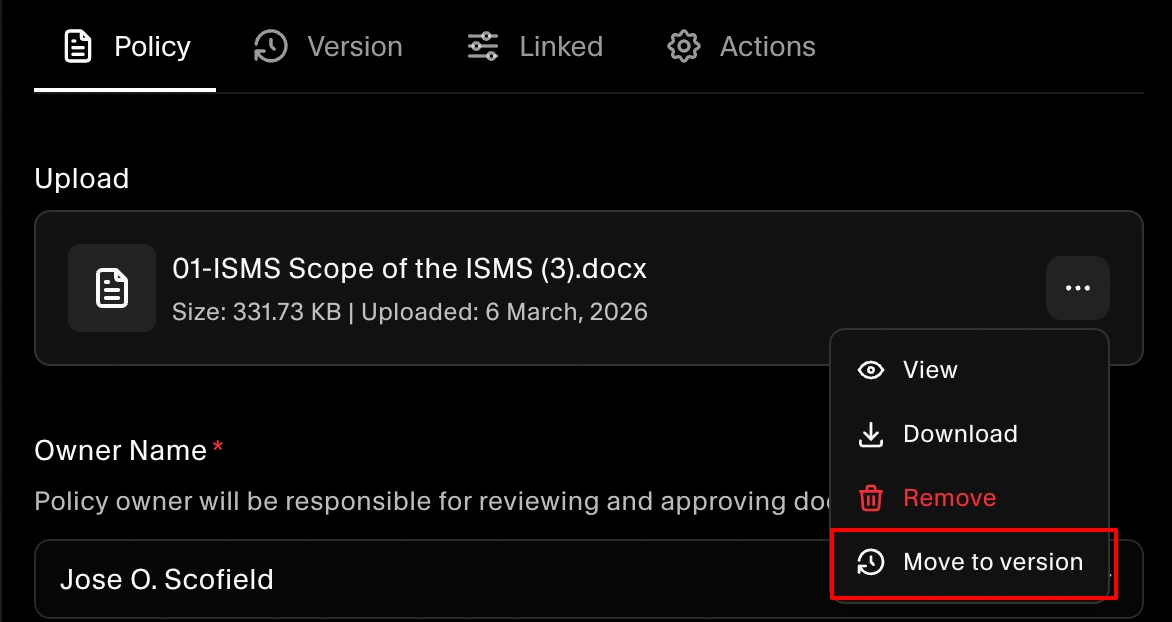
The Move to version option is available only for approved policies.
This is especially useful after an audit is completed, so you can retain prior versions for future audits, renewals, or internal reference.
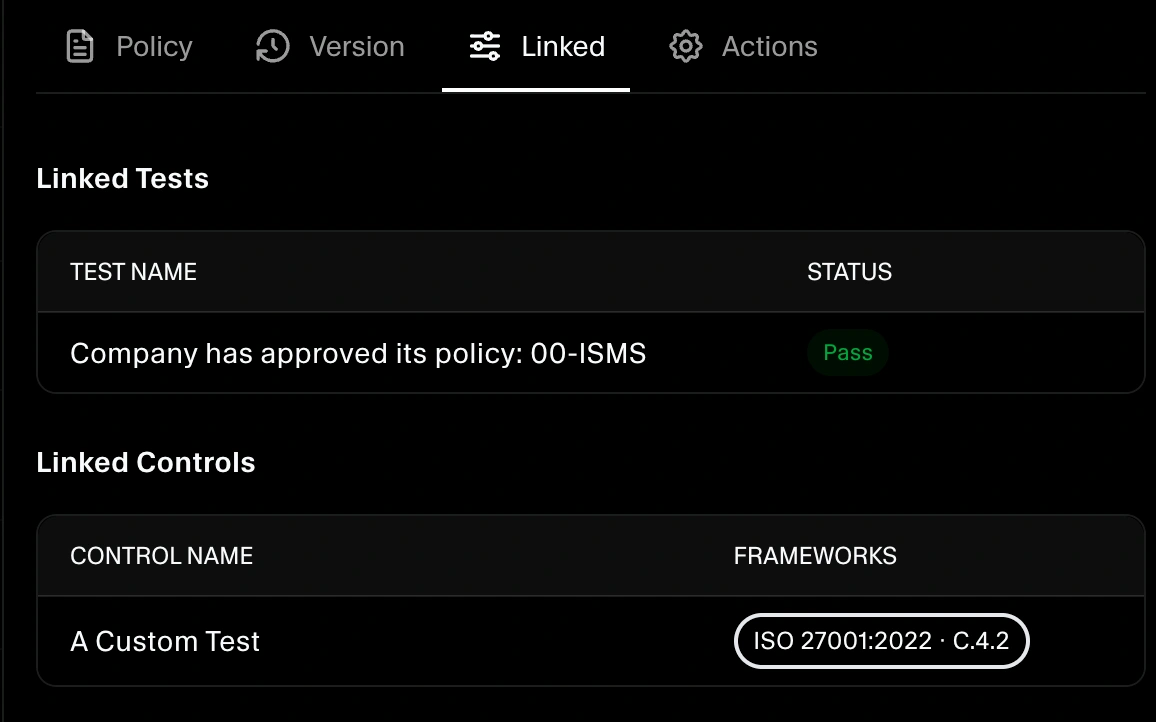
Step 5: Review linked tests and controls
Open the Linked tab to see:
- The tests associated with this policy
- Any controls connected through those tests/mappings
Use this view before making major changes so you understand downstream compliance impact.
Actions (including delete)
Open the Actions tab for policy-level actions. If needed, you can delete the policy from here.
Deleting a policy can remove important mappings and create evidence gaps. For details, see: Delete a Policy.
