Vendor Risk Management
Getting Started with Vendor Risk
The Vendor Risk page helps you monitor risks tied to third‑party services—cloud providers, SaaS tools, code repositories, and more. From here you can see active vendors, due diligence status, categories, owners, and risk level.

You can add vendors in four ways: through integrations, Auto Detect, import, or Add Manually.
How vendors appear in the table
Each row in the Active tab typically shows:
- Vendor name: The third‑party service (for example, Bitbucket, Cloudflare, Jira).
- Risk level: Overall risk rating for that vendor (once assessed).
- Due diligence: Status of your review (for example, Complete or in progress).
- Category: What type of service this vendor provides (version control, hosting, vulnerability scanner, etc.).
- Owner: The person responsible for managing the vendor relationship and risk evaluation.
You can search, filter by risk level, export the list, and switch between Active and Archived vendors.
1. Vendors added from integrations
When you connect tools via the Integrations page (for example, GitHub, Jira, or your cloud provider), SecureSlate automatically creates corresponding vendor entries in Vendor Risk.
This ensures that key third‑party services in your tech stack are tracked as vendors without extra manual work.
2. Auto Detect: discover vendors from your domain
Use Auto Detect to scan your organization’s domain and detect common third‑party services.
- On the Vendor Risk page, click Auto Detect.
- SecureSlate scans for integrations and services associated with your domain.
- Review the detected vendors and add the ones that are relevant.
Auto detection gives you a quick starting point and helps you avoid missing important vendors you rely on.
3. Import vendors from a template
If you already maintain a vendor list in a spreadsheet, you can bulk‑import it.
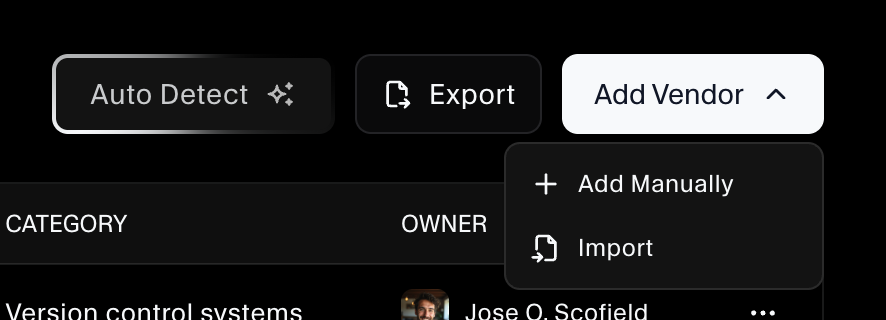
- Click Add Vendor → Import.
- Download or use the provided template (Excel file) as a guide.
- Fill in vendor name, category, owner, and other columns in the spreadsheet.
- Upload the completed file to bring vendors into SecureSlate.
This is ideal when migrating from an existing vendor register or GRC tool.
4. Add a vendor manually
To create a single vendor directly in the UI:
- Click Add Vendor → Add Manually.
- Enter the vendor name, category, owner, and any other required details.
- Save to add the vendor to the Active list.
Manual adds are useful for new or one‑off vendors that are not yet detected or included in imports.
Managing vendor risk over time
After vendors are added:
- Assess and update their risk level based on your due diligence.
- Track due diligence status to ensure reviews are completed.
- Archive vendors you no longer use while keeping historical records in the Archived tab.
Combining integrations, auto detection, imports, and manual entries gives you a complete and up‑to‑date view of the third‑party services that affect your security posture.
