
Audit Readiness
Responding to Flagged Evidence
During a continuous audit, your auditor reviews evidence tied to each test. If something is missing or needs clarification, the auditor flags the evidence and leaves a note explaining what is required. As the evidence owner, you respond by adding notes and uploading updated files, then marking the evidence ready for the auditor to re-review.
How flagging works
When an auditor flags a piece of evidence:
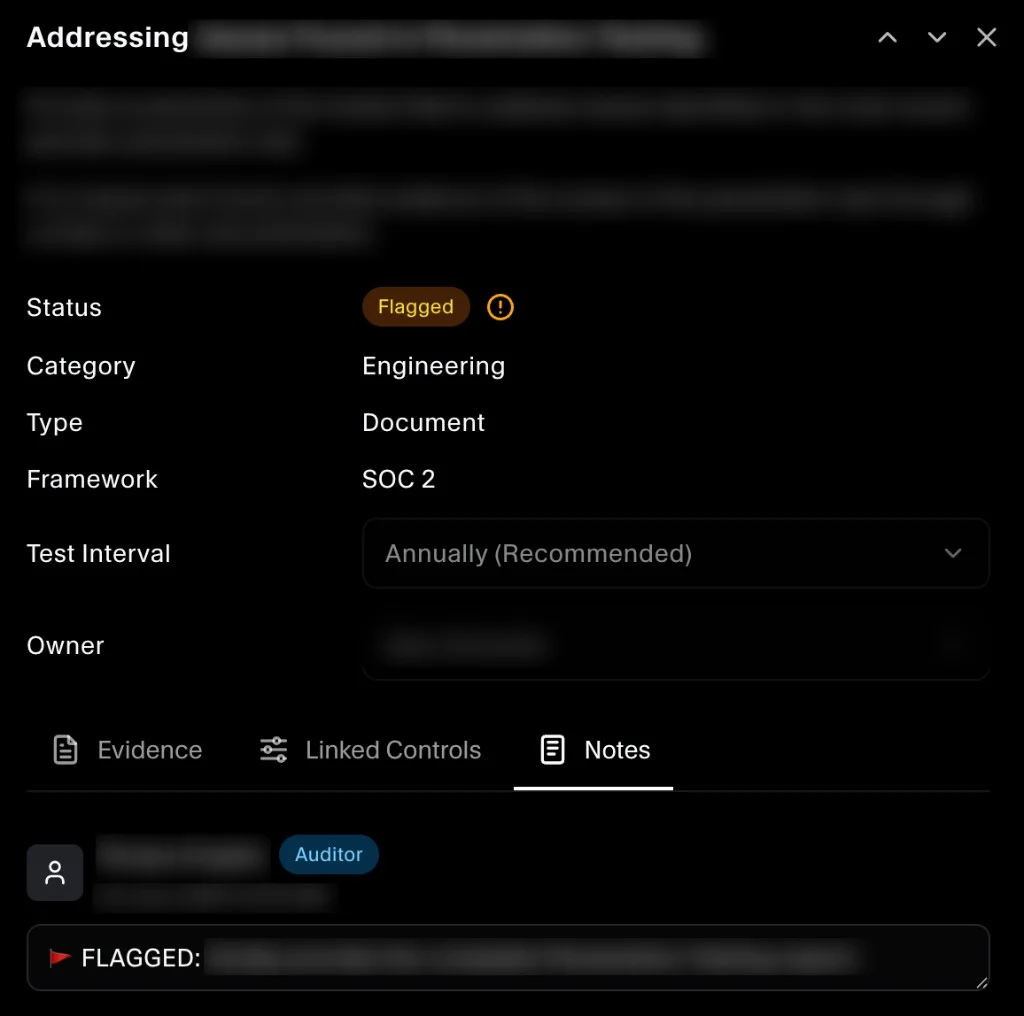
- The evidence status changes to Flagged.
- The auditor leaves a note in the Notes tab describing what is missing or needs to change (for example, "Kindly provide the complete Penetration Testing report.").
- You receive a notification so you can take action.
Where to find flagged evidence
Flagged evidence is managed inside the Audit module.
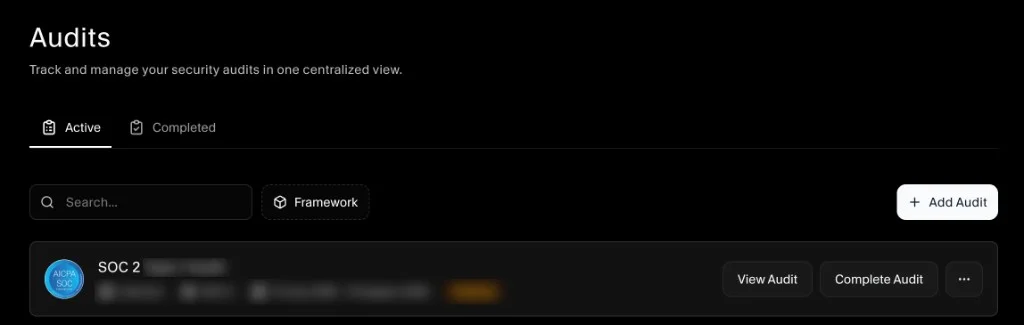
- From the sidebar, go to Audit.
- Find the audit that is currently Ongoing and click View.
- Browse the list of tests. Tests with flagged evidence are highlighted.
- Click the test to open the evidence panel.
Reading the auditor's note
Inside the evidence panel, click the Notes tab to see the full comment thread. The auditor's flag message is shown with a flag icon and their Auditor badge, along with the date and time it was left.
Read the note carefully. It tells you exactly what the auditor needs before they can accept the evidence.
Adding a note in response
You can respond directly in the Notes tab to give the auditor context before or after uploading new files.
- In the Notes tab, click the Leave a note field at the bottom.
- Type your response. For example, explain what file you are uploading, where it came from, or reference related evidence elsewhere.
- Click Add Note.
Your note appears in the thread with your name, your Owner badge, and a timestamp. The auditor sees it when they return to review.
Uploading updated evidence
- In the evidence panel, click the Evidence tab.
- Click + Update Evidence.
- Select the file(s) to upload from your device.
- The new file appears in the Uploads list with its name, size, and upload date.

You can upload multiple files. All uploads are visible to the auditor.
Marking evidence as ready for audit
Once you have uploaded the required files and added any clarifying notes, signal to the auditor that the evidence is ready for re-review.
- In the Evidence tab, click Mark As Ready For Audit.
- The evidence status updates so the auditor knows it is ready for them to check again.
The auditor will review the updated evidence and either accept it or flag it again with further feedback.
Summary of the workflow
| Step | Who | Action |
|---|---|---|
| Flag evidence | Auditor | Sets status to Flagged, leaves note explaining what is needed |
| Read the note | Owner | Opens Audit → View on the ongoing audit, reads Notes tab |
| Respond with context | Owner | Adds a note in the Notes tab |
| Upload new files | Owner | Uses + Update Evidence in the Evidence tab |
| Signal readiness | Owner | Clicks Mark As Ready For Audit |
| Re-review | Auditor | Reviews updated evidence and accepts or flags again |
