Getting Started
Getting Started with Employee Page
Welcome to the Employees section! This is where you manage everyone who has access to your organization's account. You can invite new team members, track their onboarding progress, offboard them when needed, and ensure compliance.
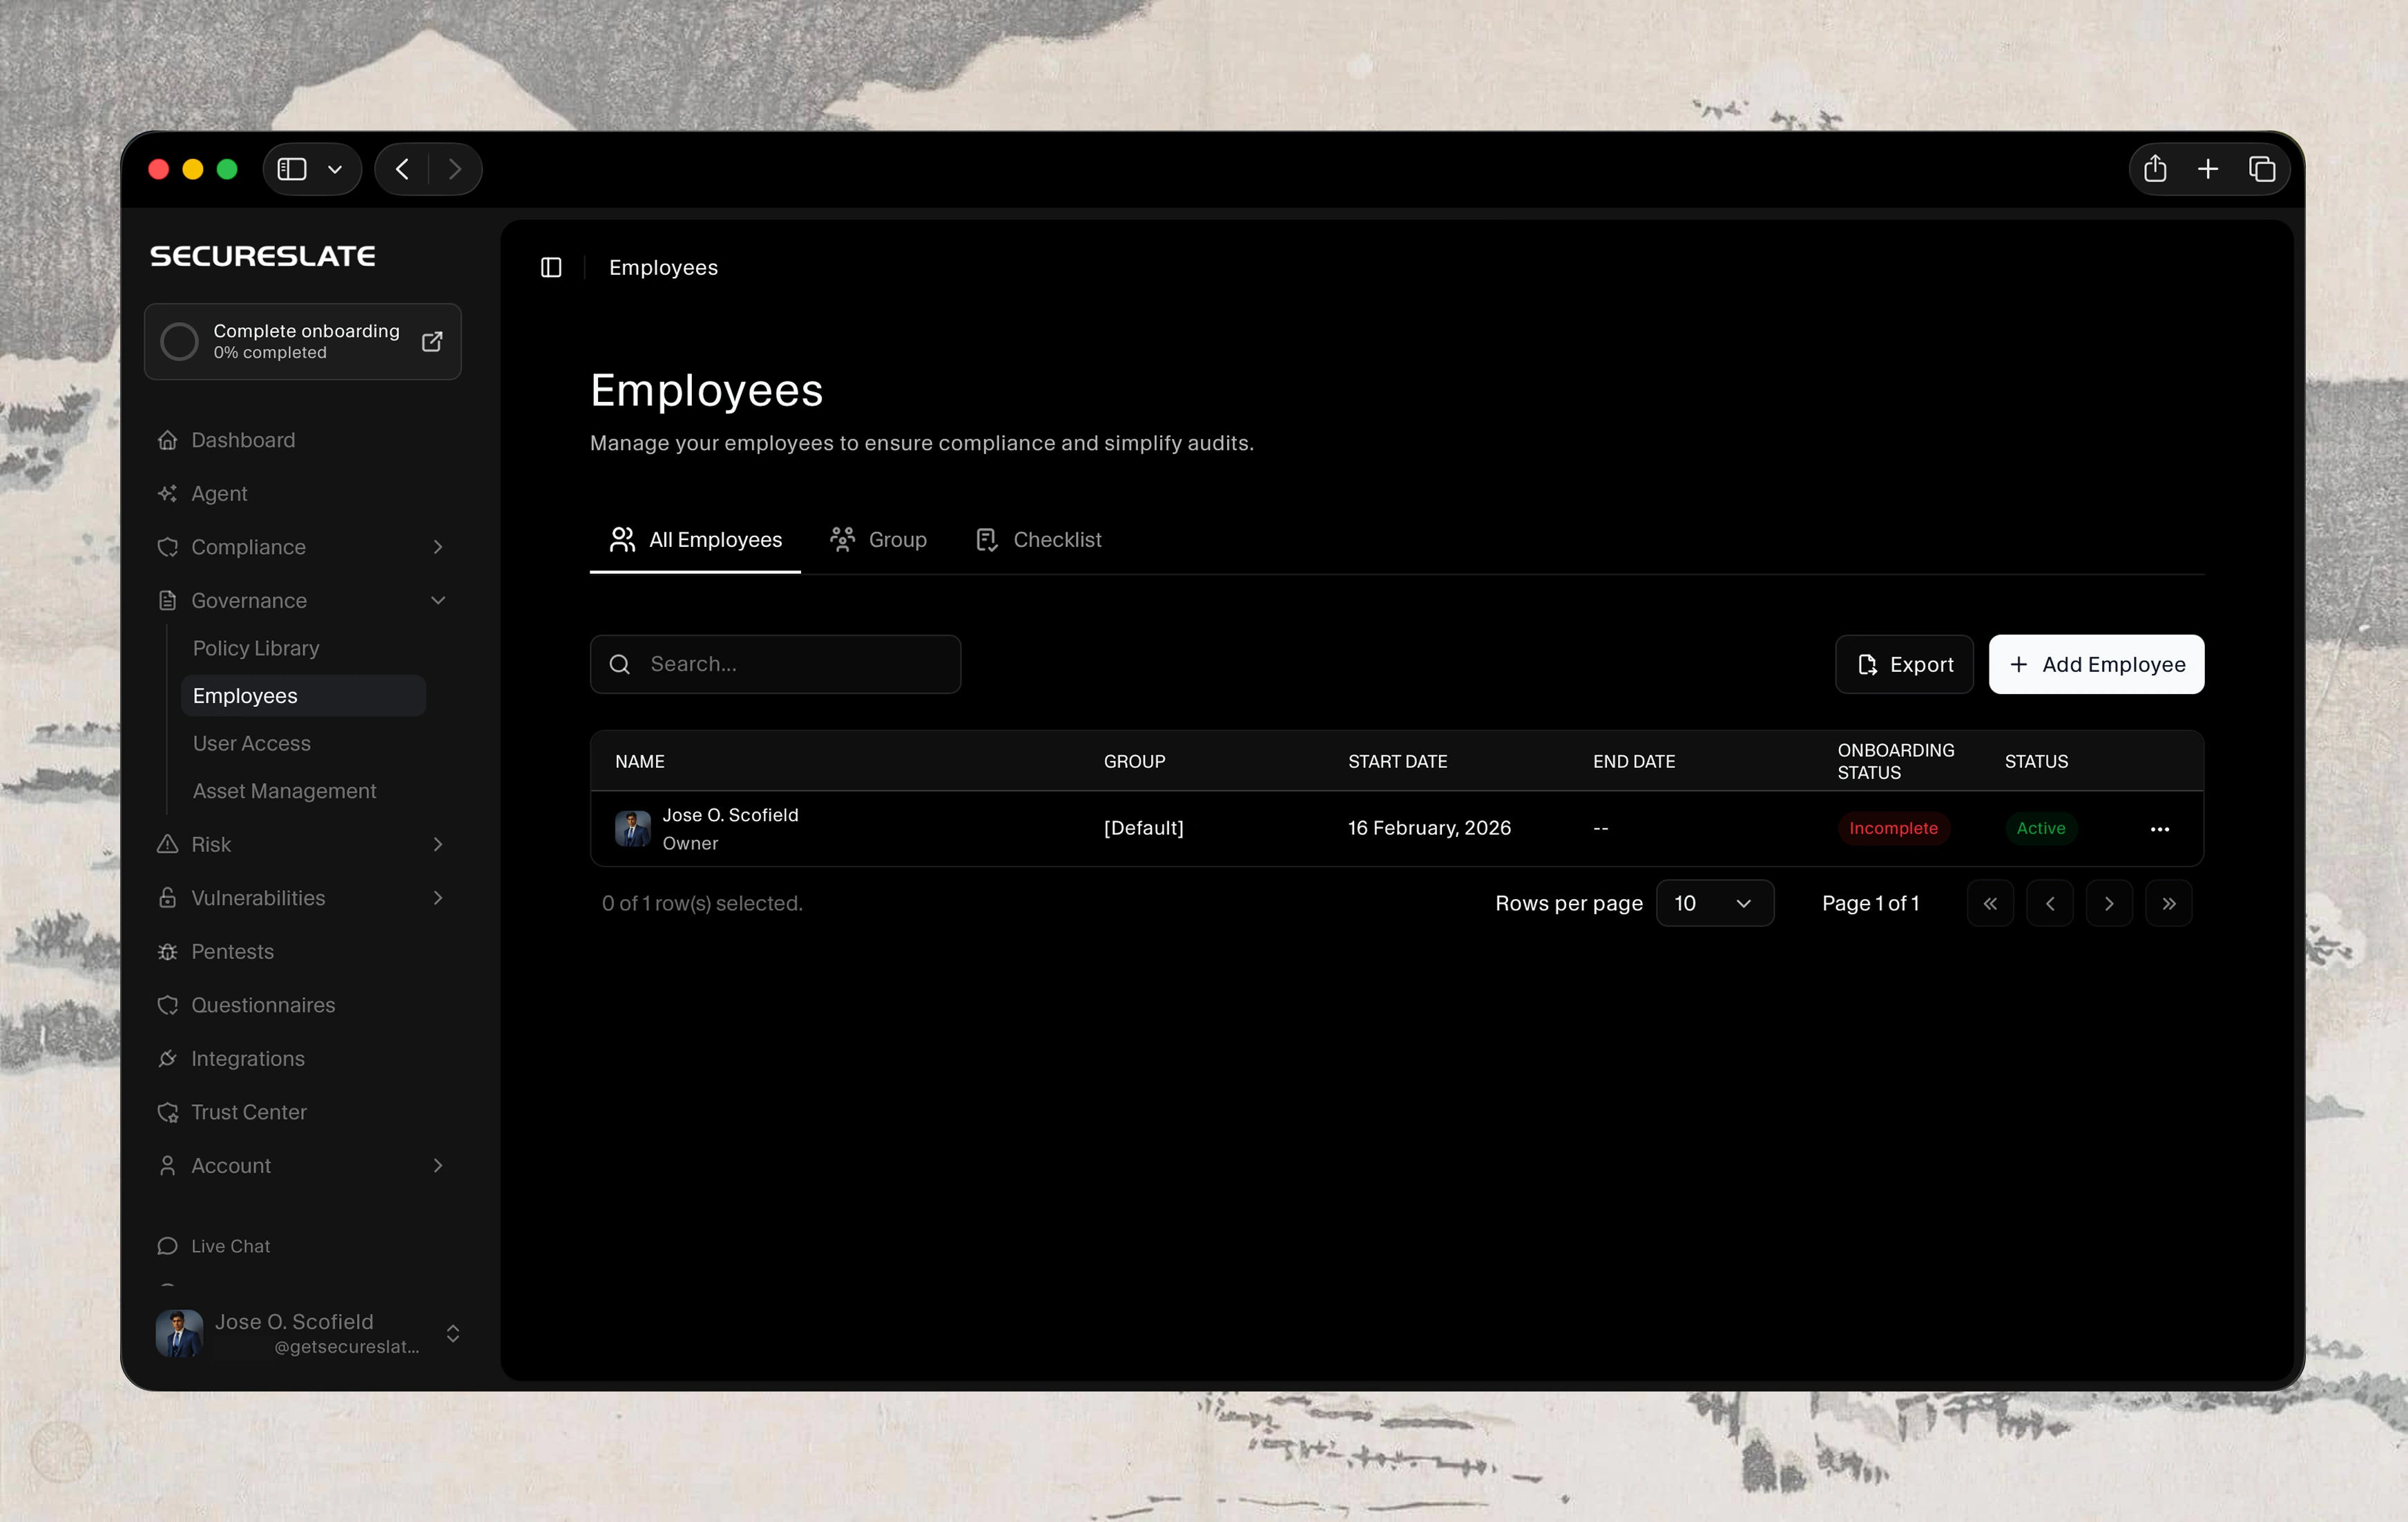
Main Tabs
- All Employees → Shows every person ever invited (active, ended, or pending).
- Group → Organize employees into custom groups (e.g., Developers, Sales, Contractors).
- Checklist → View and manage onboarding/offboarding checklists for each employee.
How to Add / Invite Employees
- Click the green + Add Employee button (top right).
- When adding an employee, you must choose their Role:
- Admin – Almost full access (can manage employees, billing, settings).
- Member – Limited access to onboarding page (usually for regular employees/contractors).
- After you save:
- The platform automatically sends an invitation email with a secure magic link.
- The employee clicks the link → sets their password → lands directly in your organization.
- No need to create accounts manually – everything is done via the invitation.
Employee List Columns Explained
| Column | Meaning |
|---|---|
| Name | Employee's full name and profile picture |
| Group | The group(s) they belong to (e.g., Developer, [Default]) |
| Start Date | Date they were invited or officially started |
| End Date | Date their access was terminated (only shown for ended employees) |
| Onboarding Status | Completed = All onboarding tasks done; Incomplete = Still has pending tasks |
| Status | Active = Currently has access; Ended = Access revoked |
Actions Menu (⋯ three dots on the right of each row)
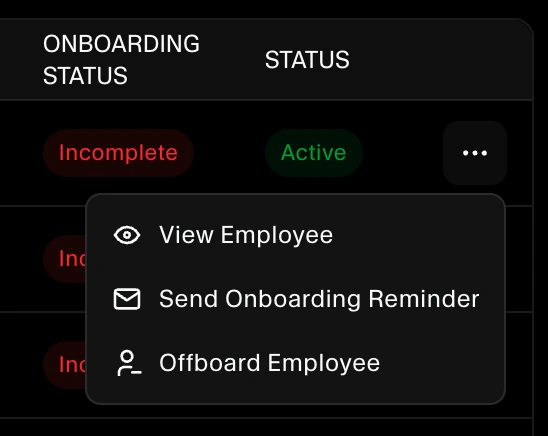
Click the three dots next to any employee to see these options:
| Option | What it does | Who can use it |
|---|---|---|
| View Employee | See full profile, documents, onboarding checklist, activity log, etc. | Owners & Admins |
| Onboarding Reminder | Sends a reminder email to employees who have not yet completed their onboarding process. | Owners & Admins |
| Offboard Employee | Starts the offboarding process: revoke access, run offboarding checklist, set end date | Owners & Admins |
| Remove Employee | Permanently deletes the employee from your organization (use with caution – cannot be undone) | Owners only |
Common Tasks & How to Do Them
- Invite a new team member → Click + Add Employee → Fill in name, email, role → Save → Invitation is sent automatically.
- Resend an invitation → Find the employee → Click ⋯ → Resent invite.
- Change someone's role (e.g., promote Member → Admin) → Click the employee's name → Edit → Change "Role" → Save.
- Terminate / Offboard an employee → Click ⋯ → Offboard Employee → Fill in end date & reason (optional) → Complete the offboarding checklist → Access is automatically revoked.
- Export the employee list → Click the Export button (top right) → Choose CSV or Excel → Download.
- Search or filter employees → Use the search bar to find by name or email. Click column headers (e.g., Status, Group) to sort.
How to check if an employee (or yourself) has completed Security Training & Accepted Policies
For any employee → Go to Employees → All Employees tab → Simply click on the employee's name (or their photo) → A side panel opens with their Employee Details → Click the Onboarding tab (it's selected by default).
You will immediately see a clear list like this:
- Accepted Policies → Completed (green check) or Pending
- Security Training → Completed (green check) or Pending
- Device Setup → Completed (green check) or Pending

Everything is shown with dates and proof (you can even click into each item to see the signed policy or training certificate).
To check your own completion status (as the admin/owner)
Way 1 – Quickest → Click your profile picture (bottom left) → Select Employee Onboarding from the dropdown → You instantly see exactly what a normal employee sees — including whether your own security training and policy tasks are marked as completed.
Way 2 – Via the Employees list (same as everyone else) → Go to Employees → find your own name in the list → click it → Look at the Onboarding tab — you'll see your own tasks exactly the same way as any other employee.
No need to switch accounts or log out — everything is visible in seconds. This view is also what auditors love because it shows clear proof of completion for every single person (including the owner).
Tips & Best Practices
- Always invite people with the correct role from the start — it's easier than changing later.
- Use Groups to organize large teams and apply policies/checklists in bulk.
- Completed onboarding = better compliance and audit readiness.
- When someone leaves the company, always use Offboard Employee (not just "Remove") so you have a proper end date and audit trail.
If you have any questions or something isn't working as expected, click the Live chat button in the bottom-left corner to chat with us or browse more guides.
