Policies
Create a Custom Policy
Use Custom Policies to add your organization’s internal policies to SecureSlate (instead of relying only on template policies). When you create a custom policy, SecureSlate also creates an associated test automatically so the policy can be tracked in your compliance program.
Before you start
Have the following ready:
- Policy name
- Policy description (what the policy covers)
- Owner (the person responsible for maintaining the policy)
- Frameworks this policy supports (e.g., SOC 2, ISO 27001, HIPAA)
- Next review date (when the policy should be reviewed/updated next)
- Optional: a policy template file to upload (if you want SecureSlate to store the document with the policy)
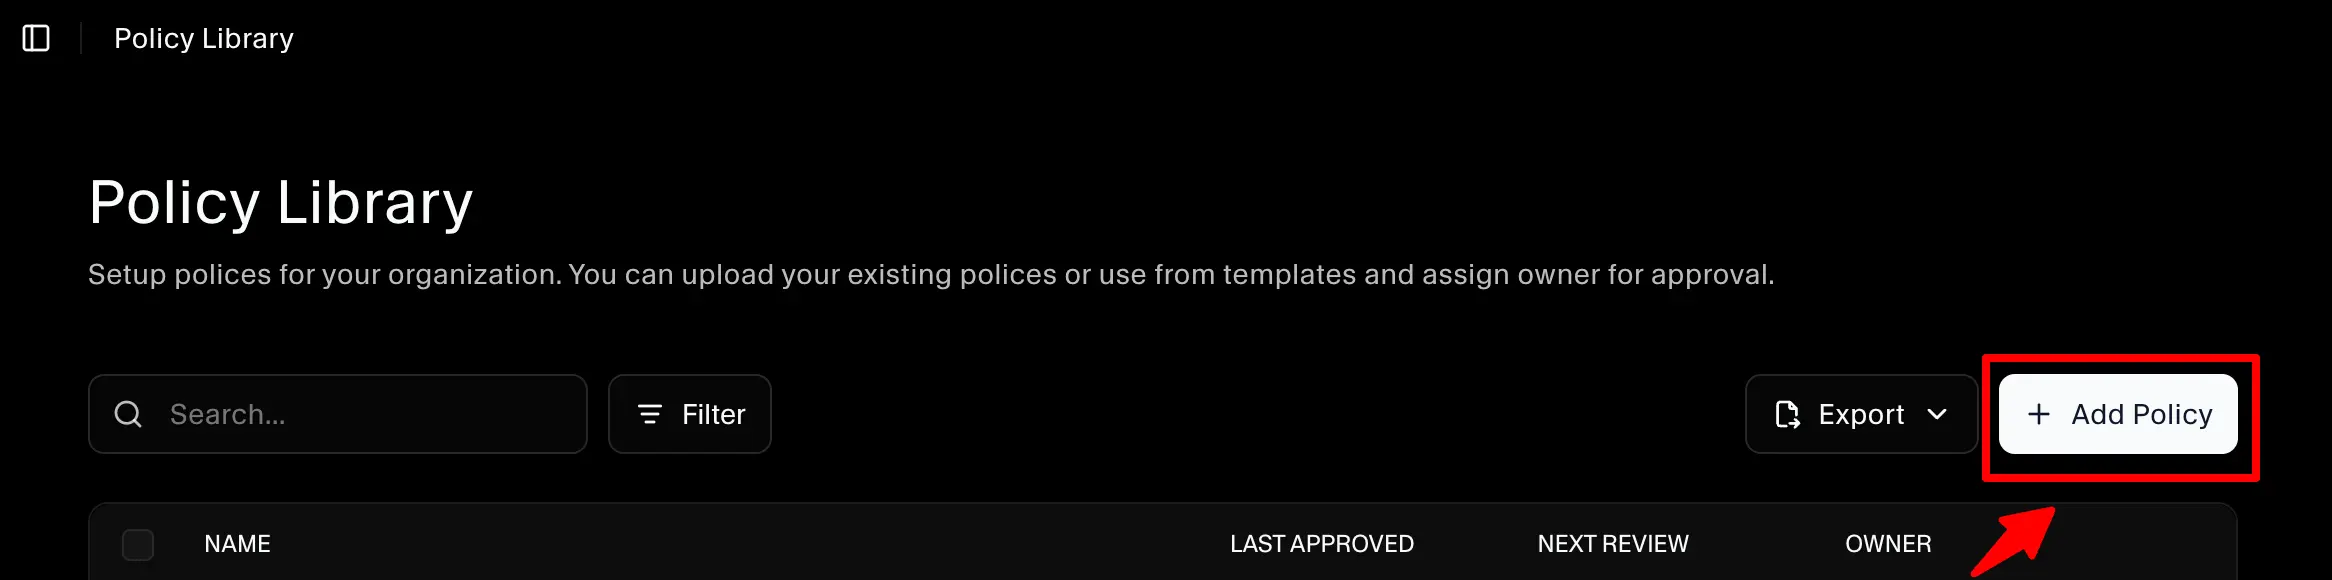
Step 1: Open the Policy Library and start a custom policy
- Navigate to Policy Library
- Click Add Custom Policy
This opens the Add Custom Policy drawer.
Step 2: Fill in the policy details
In the Add Custom Policy drawer, complete the required fields:
- Policy name
- Policy description
- Owner name
- Associated frameworks (select all that apply)
- Next review date
Optional:
- Upload a template for this policy (if you want to attach a document to the policy)

Step 3: Add the policy
Click Add Policy to create the custom policy.
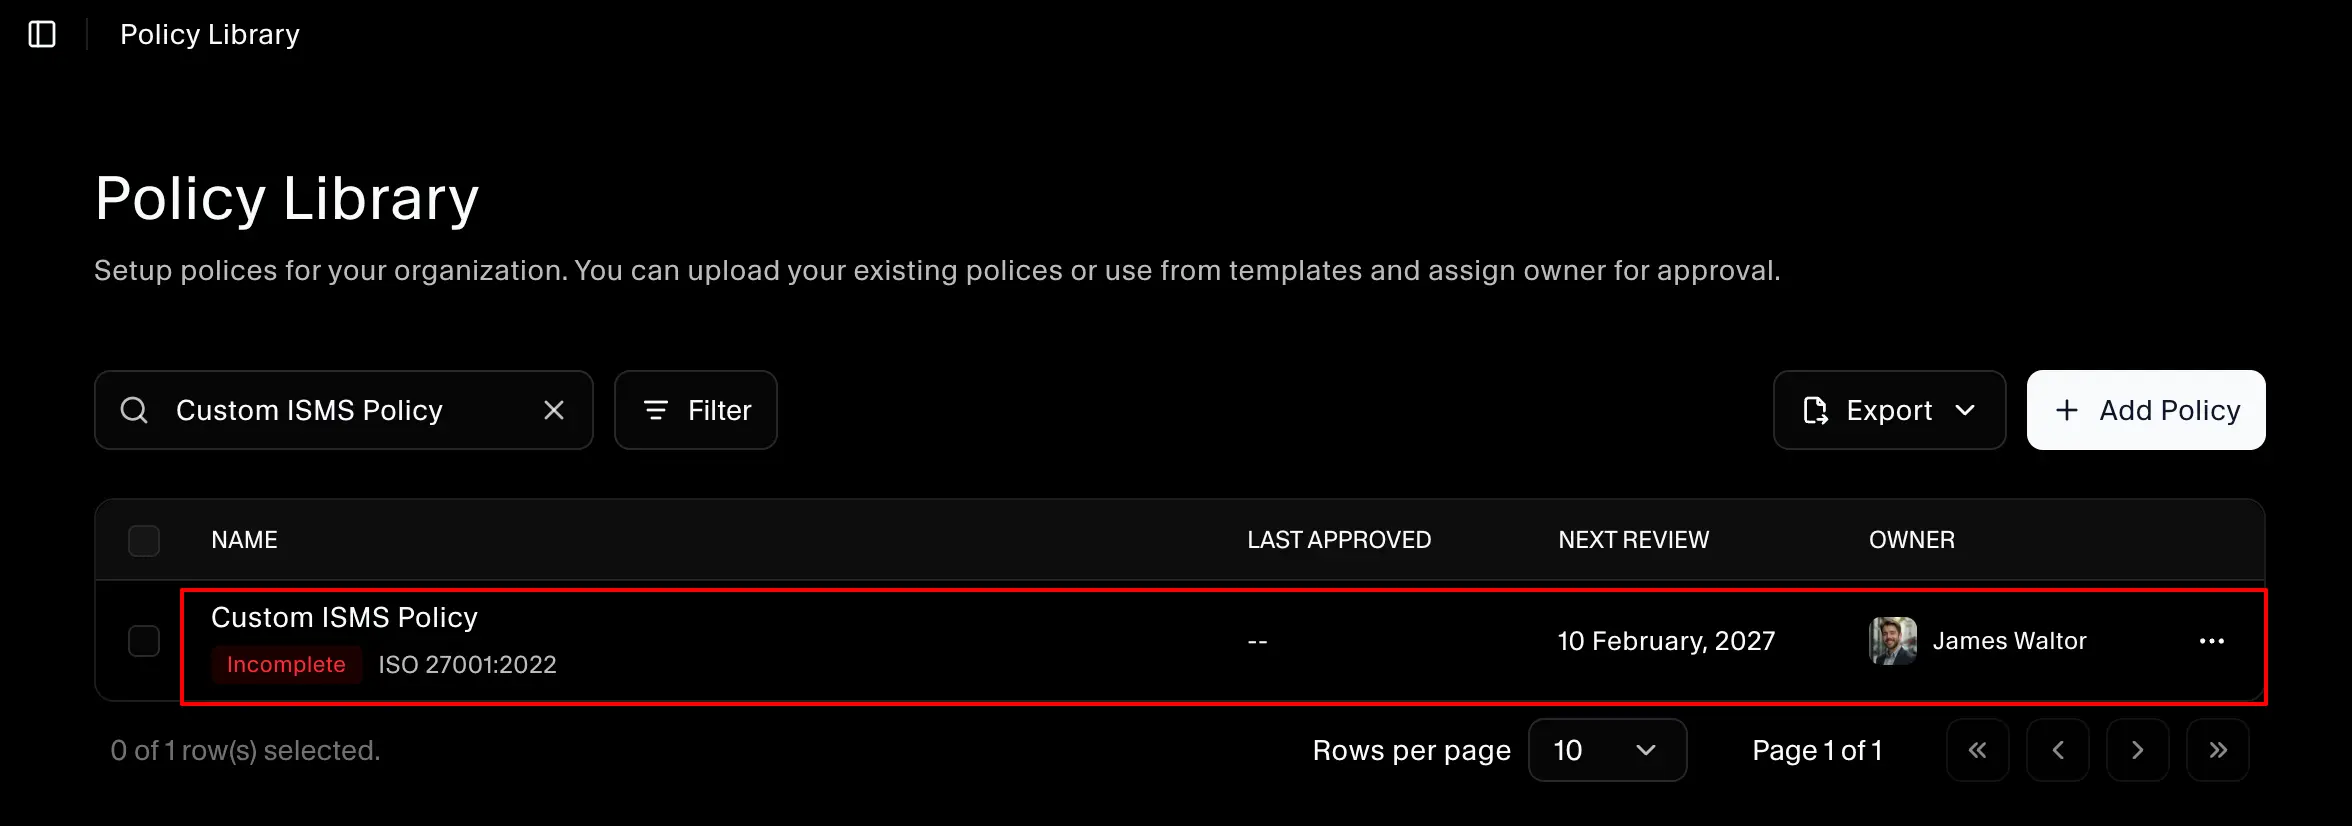
What happens next
After creation, you’ll see:
- Policy Library: The policy appears in the Policy Library table with a Custom badge.
- Tests: A new associated test is created automatically on the Tests page, and that test is linked to the policy.
In the policy page:
In the Tests page:

