
Integrations
Connecting SecureSlate & ClickUp
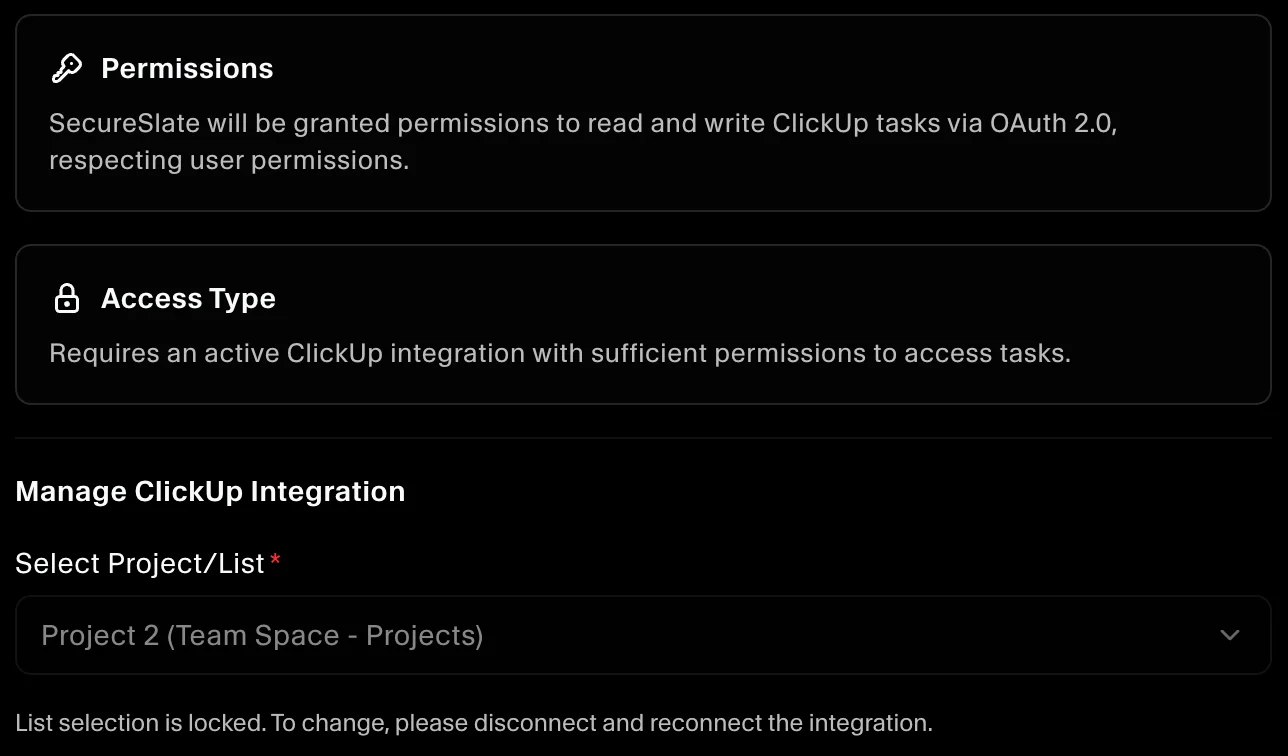
SecureSlate connects to ClickUp using OAuth 2.0. We read your workspace members for access reviews and the tasks in a list you choose for automated tests. SecureSlate also has write access: it creates ClickUp tasks when you ask it to from SecureSlate. It doesn't edit or delete existing tasks or change members.
Prerequisites
- SecureSlate permissions: access to manage integrations (typically Admin).
- ClickUp permissions: a member of the ClickUp workspace you want to connect. ClickUp OAuth has no fine-grained permissions, so SecureSlate can see what this account can see. A workspace owner or admin works best.
- A ClickUp list that holds your security tasks. Create one first if you don't have it.
What SecureSlate syncs
| Data | Where it appears | Purpose |
|---|---|---|
| Workspace members (name, email, role, joined and last active dates) | User Access → ClickUp | Review each account, link it to an employee, and track removed accounts |
| Tasks in the selected list (priority, status, assignees) | Tests | Check that security tasks are tracked, assigned, and resolved |
SecureSlate also adds a ClickUp vendor under Vendor Risk when you connect, unless you already track one.
Members who have never been active show as invited. Members later removed from the workspace stay in User Access as inactive, so your access history is kept for audits. Tasks are read from ClickUp each time the tests run.
Authorize SecureSlate in ClickUp
- Sign in to ClickUp with the account you want to connect.
- When SecureSlate sends you to ClickUp, select your company workspace and approve access. Select only one workspace: SecureSlate uses the first workspace you authorize.
- ClickUp returns you to SecureSlate.
Connect ClickUp to SecureSlate
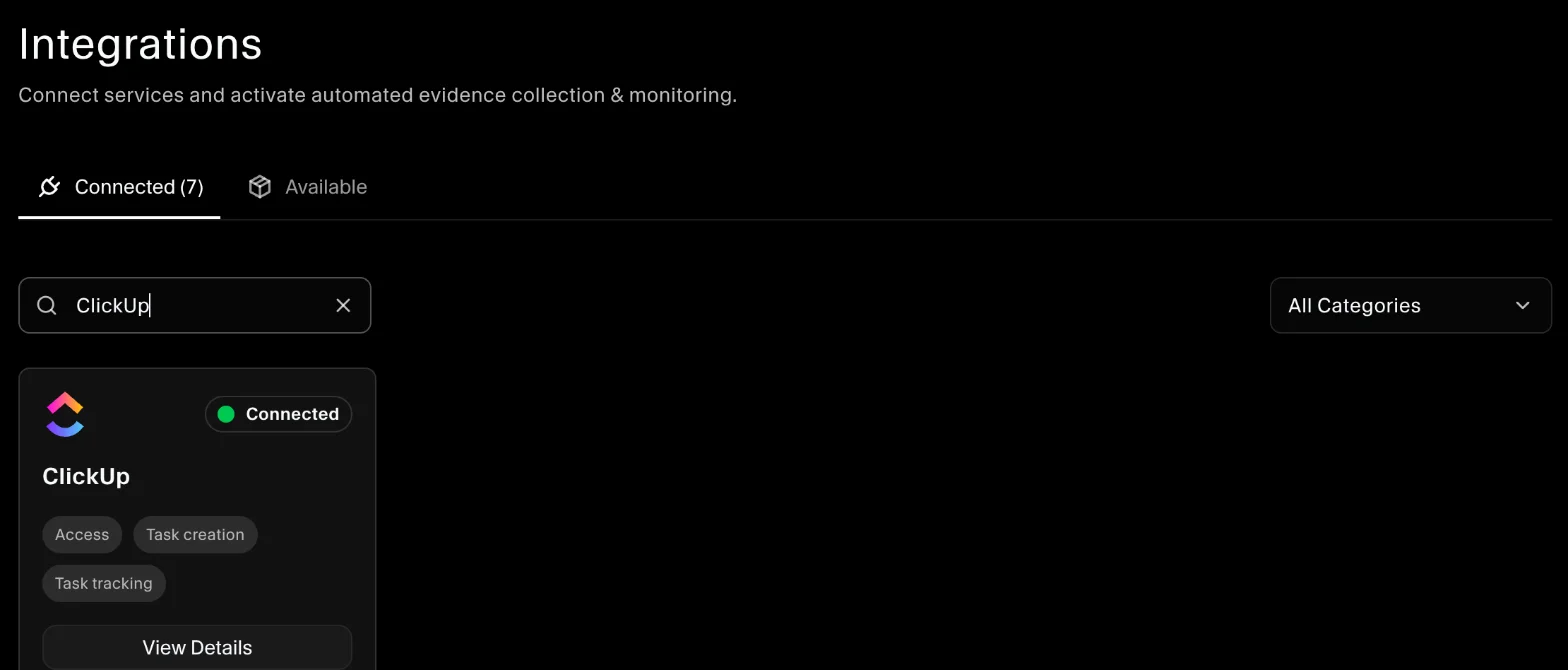
- In SecureSlate, open Integrations.
- Find ClickUp and click Connect.
- In the drawer, click Connect. You're redirected to ClickUp to authorize SecureSlate.
- Back in SecureSlate, open the ClickUp integration. Under Select Project/List, choose the list that holds your security tasks. Lists show as List (Space - Folder).
SecureSlate saves the list, imports workspace members, and runs the ClickUp tests. The list is locked once selected. To change it, disconnect ClickUp and connect it again.
Create ClickUp tasks from SecureSlate
Once ClickUp is connected, you can add tasks to ClickUp directly from SecureSlate, from the Dashboard:
- Click Add Task and fill in the task details.
- Under Deliverable, tick Create task in ClickUp.
- Click Add Task.
SecureSlate creates the task in the ClickUp list you selected.
Automated tests
Once connected, SecureSlate runs automated tests on your ClickUp data. They cover account access and how security tasks are tracked and resolved, and collect the evidence your auditors need.
To see which tests run and their results, open the ClickUp integration and click Automated Controls and Tests, or go to Tests.
Troubleshooting
- "ClickUp authentication failed, please try again later": authorization didn't complete. Click Connect again and approve access in ClickUp.
- No lists to select: the authorized workspace has no lists, or ClickUp returned the wrong workspace. Create a list, then disconnect and connect again with only your company workspace selected.
- "Invalid access token. Please reconnect to ClickUp.": the connection was revoked. Disconnect ClickUp and connect it again.
- "The connected ClickUp workspace could not be read. Please reconnect to ClickUp.": the account lost access to the workspace. Reconnect with an account that's still a member.
- "No tasks found in the selected list": add your security tasks to that list in ClickUp, or reconnect and choose another list.
Get started today at getsecureslate.com to connect ClickUp and keep your security tasks and user access audit-ready.