
Integrations
Connecting SecureSlate & GitLab
SecureSlate connects to GitLab.com using OAuth 2.0 with read-only access. After you authorize access and pick a group, SecureSlate imports the group's projects and members, then checks branch protection, merge request approvals, two-factor authentication, and dependency scanning findings for your automated tests. SecureSlate does not change anything in GitLab.
Prerequisites
- SecureSlate permissions: access to manage integrations (typically Admin).
- GitLab permissions: the Owner role in the group you want to connect. GitLab only shows members' two-factor authentication status to group owners.
- GitLab.com: self-managed GitLab instances aren't supported.
Some tests depend on GitLab features from paid tiers: merge request approval rules need Premium or Ultimate, and dependency scanning findings need Ultimate.
What SecureSlate syncs
| Data | Where it appears | Purpose |
|---|---|---|
| Projects in the group and its subgroups (name, visibility, description, dates) | Assets → Repositories | Keep an inventory of your code and assign owners |
| Group members (name, role, two-factor status, public email) | User Access → GitLab | Review each account, link it to an employee, and track removed accounts |
| Dependency scanning findings | Vulnerabilities → Issues | Track and fix vulnerable packages |
SecureSlate also adds a GitLab vendor under Vendor Risk when you connect, unless you already track one.
Branch protection, approval rules, and merged merge requests are read from GitLab when tests run. Members later removed from the group stay in User Access as inactive, so your access history is kept for audits.
Authorize SecureSlate in GitLab
- Sign in to GitLab.com as an Owner of the group before you start.
- When SecureSlate sends you to GitLab, review the requested access and approve it.
- GitLab returns you to SecureSlate.
SecureSlate asks for the read_api, read_user, and read_repository scopes. All three are read-only.
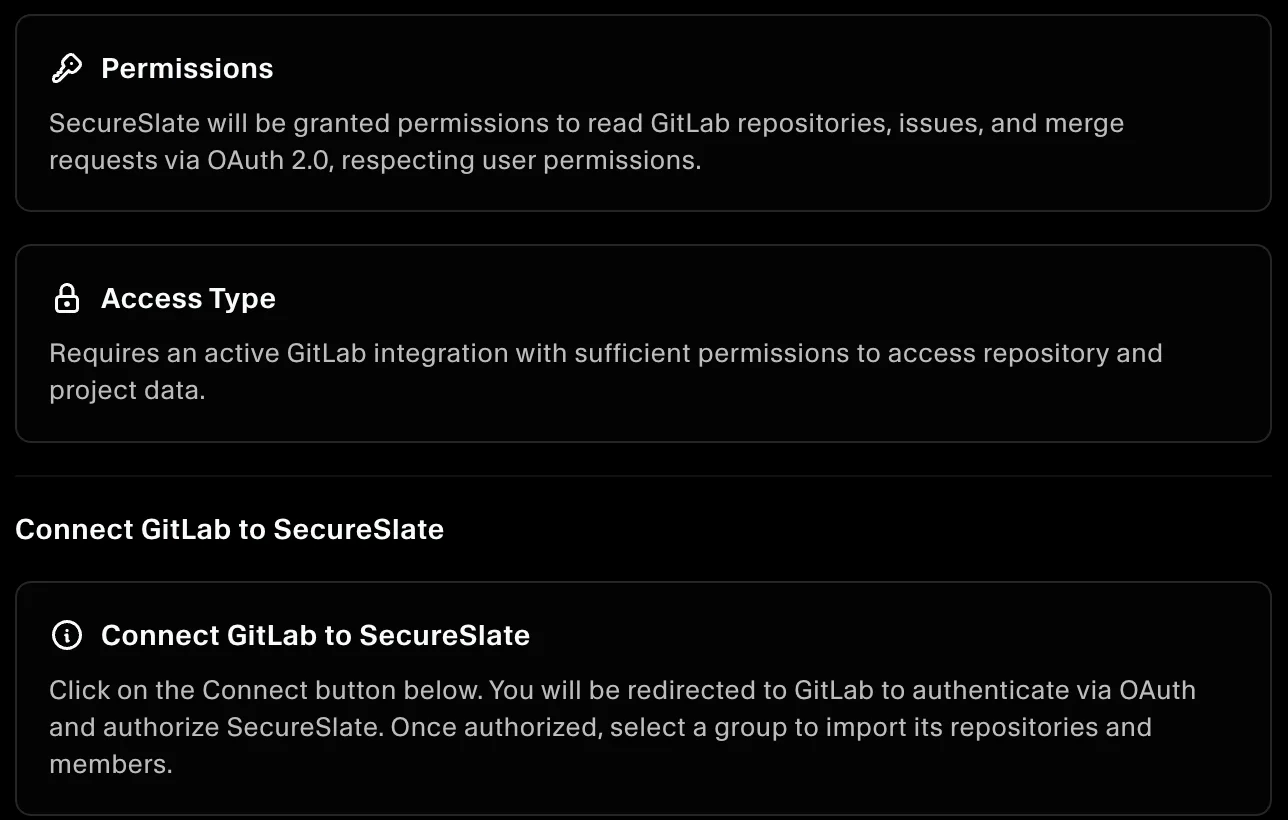
Connect GitLab to SecureSlate
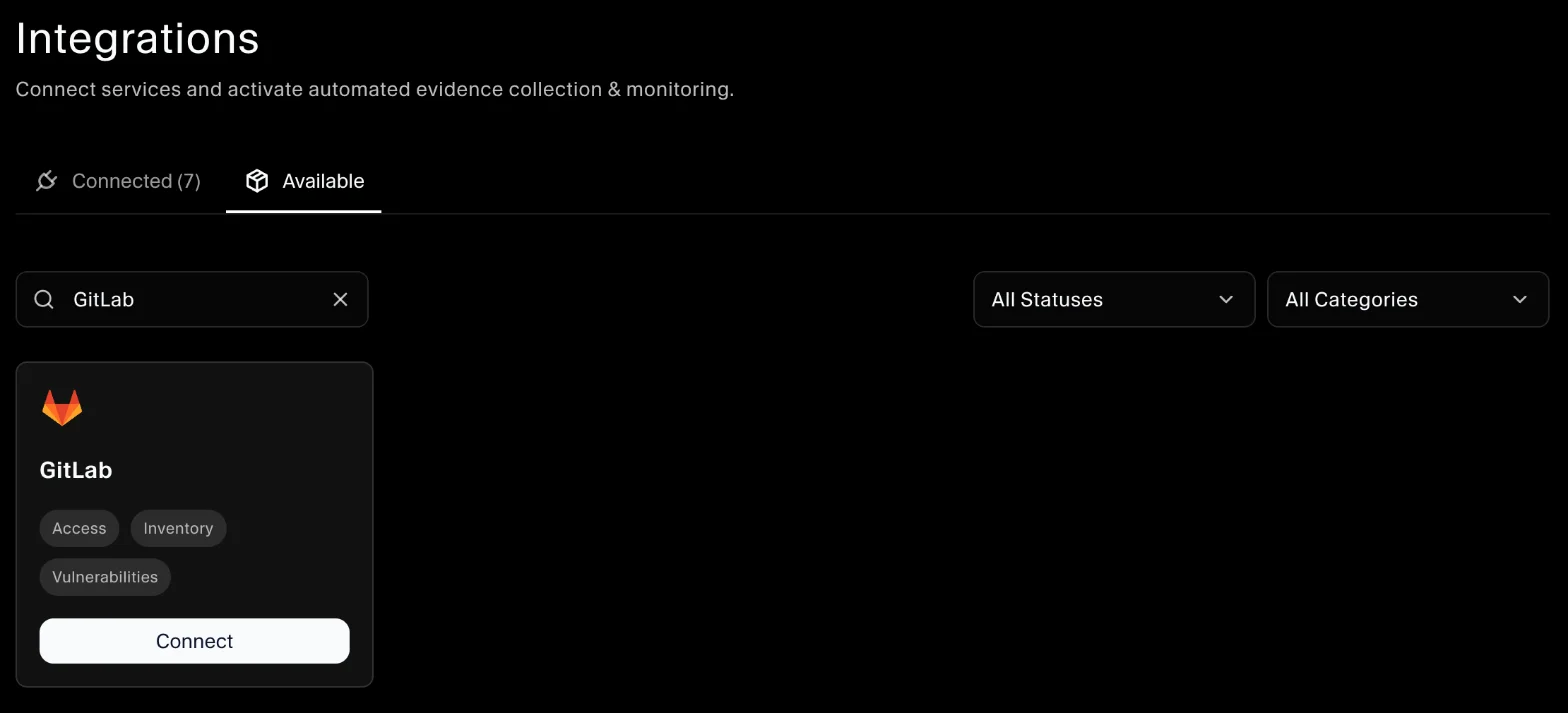
- In SecureSlate, open Integrations.
- Find GitLab and click Connect.
- In the drawer, click Connect. You're redirected to GitLab to authorize SecureSlate.
- Back in SecureSlate, open the GitLab integration. Under Select Group, choose the group to import.
SecureSlate imports the group's projects and members, then runs the GitLab tests. The group is locked once selected. To change it, disconnect GitLab and connect it again.
Automated tests
Once connected, SecureSlate runs automated tests on your GitLab data. They cover code review, branch protection, two-factor authentication, dependency findings and account access, and collect the evidence your auditors need.
To see which tests run and their results, open the GitLab integration and click Automated Controls and Tests, or go to Tests.
Troubleshooting
- "GitLab authentication failed, please try again later": authorization didn't complete. Click Connect again and authorize SecureSlate in GitLab.
- No groups to select: the GitLab account isn't a member of any group. Connect with an account in your company group.
- "Failed to process group selection": SecureSlate couldn't read the group. Disconnect, reconnect as a group Owner, and select the group again.
- "Vulnerability scanning is disabled for N repository/repositories": dependency scanning isn't available or enabled for those projects. It needs GitLab Ultimate.
- MFA test fails for members who use two-factor authentication: the account that connected isn't a group Owner. Reconnect as an Owner.
Get started today at getsecureslate.com to connect GitLab and keep your code reviews and repository access audit-ready.