
Integrations
Connecting SecureSlate & Netlify
SecureSlate connects to Netlify with a personal access token and only reads data. We sync your sites, their domains and your team members so you can keep an asset inventory, review who has access, and check HTTPS on every site. SecureSlate does not change anything in Netlify.
Prerequisites
- SecureSlate permissions: access to manage integrations (typically Admin).
- Netlify permissions: a Netlify user in the team you want to connect, who can see its sites and members.
A personal access token reaches every team its user belongs to. If the token can reach more than one team, SecureSlate reads members from the first team only and shows a warning. For a complete member list, create the token as a user who belongs only to your team.
What SecureSlate syncs
| Data | Where it appears | Purpose |
|---|---|---|
| Sites | Assets → Others | Inventory each site, with an owner |
| Site domains (custom and Netlify domains) | Assets → Domains | Track the domains your sites serve |
| Team members (name, email, role) | User Access → Netlify | Review each account, link it to an employee, and track removed accounts |
| HTTPS settings and certificates | Automated tests | Check that every site serves HTTPS with a valid certificate |
SecureSlate also adds a Netlify vendor under Vendor Risk when you connect, unless you already have a vendor named Netlify.
When the token reaches a single team, members later removed in Netlify stay in User Access as inactive, so your access history is kept for audits.
Create a personal access token
- Sign in to Netlify and open Applications → Personal access tokens in your user settings.
- Click New access token and enter a name you will recognize, for example
SecureSlate. - If your team uses SAML SSO, select Allow access to my SAML-based Netlify team. Without it, the token can't read the team.
- Choose an Expiration. Pick the longest your organization allows, since SecureSlate stops syncing when the token expires.
- Click Generate token and copy it. Netlify only shows it once.
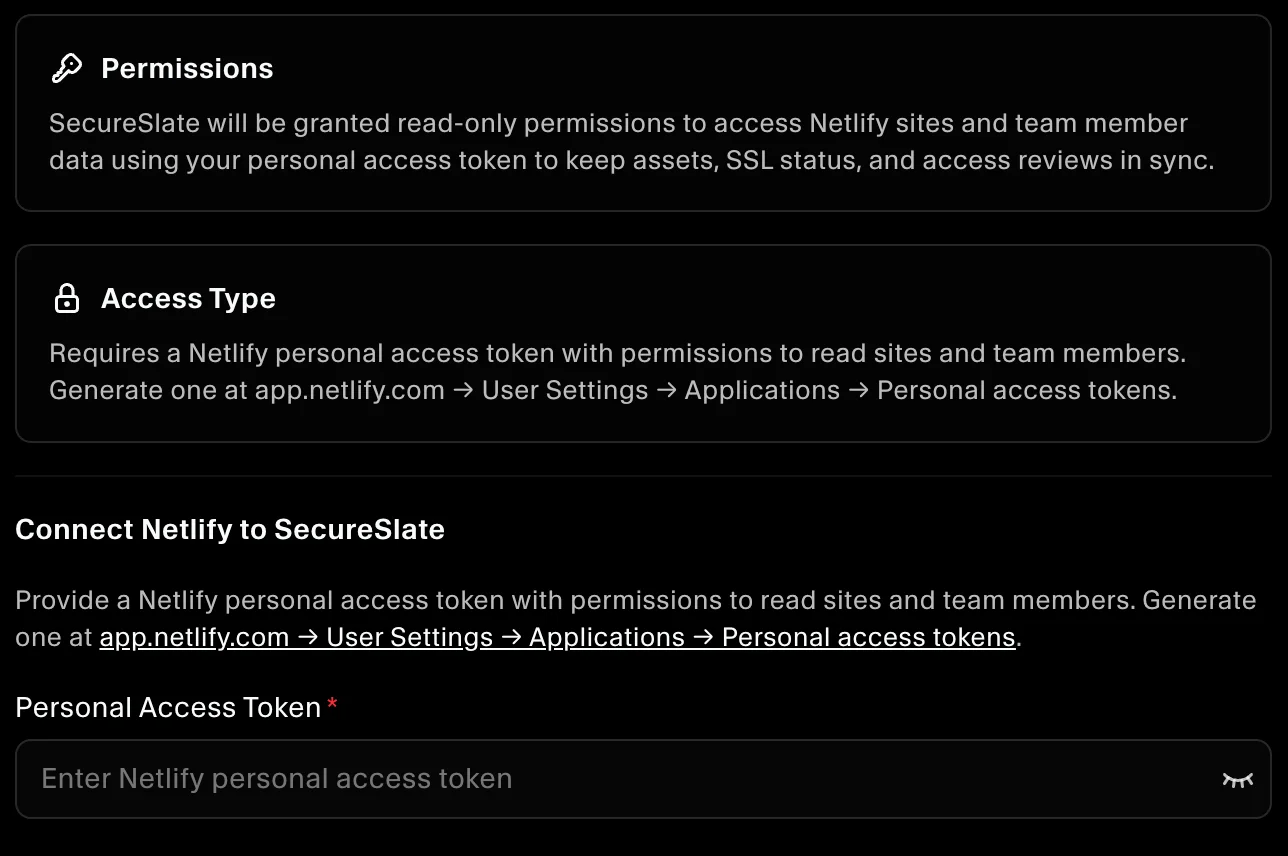
Connect Netlify to SecureSlate
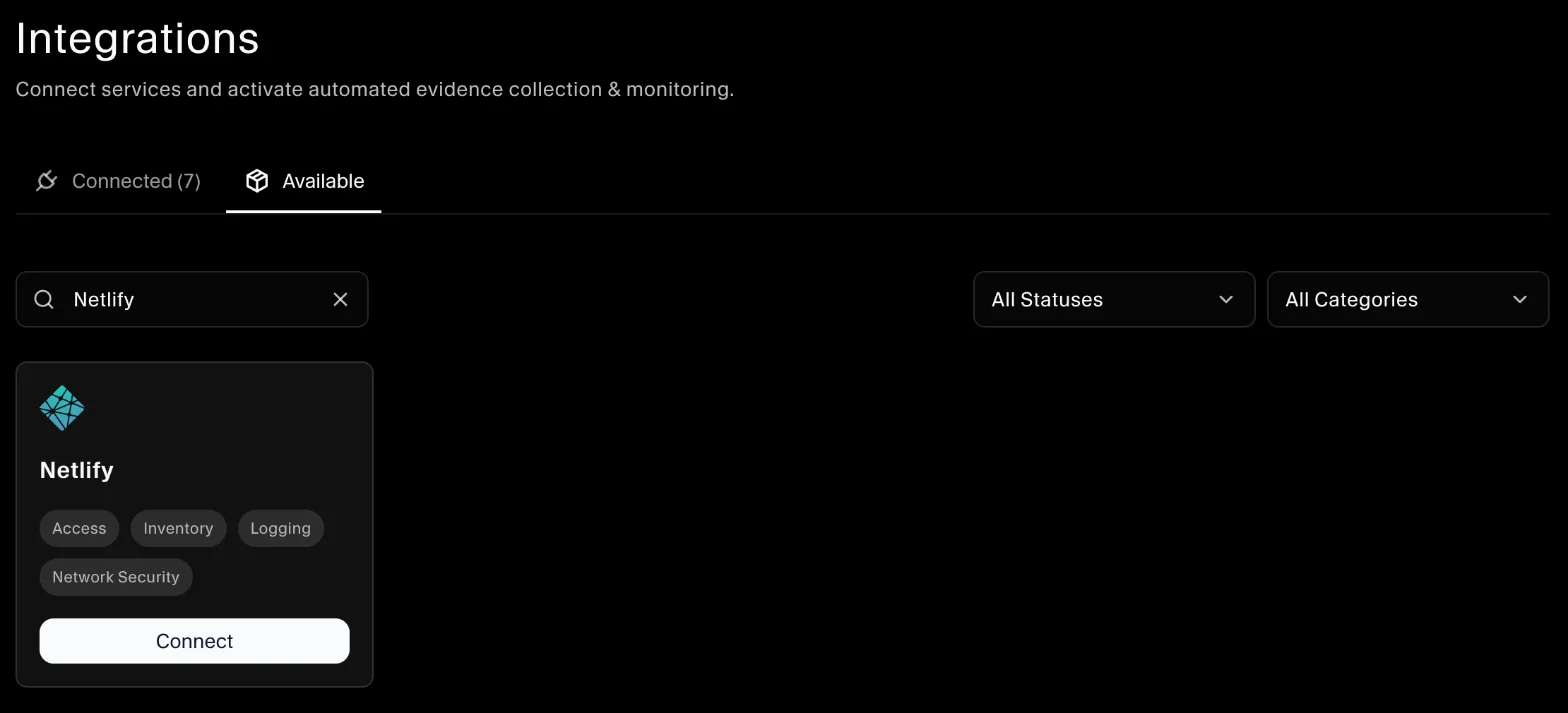
- In SecureSlate, open Integrations.
- Find Netlify and click Connect.
- Paste the token into Personal Access Token and click Connect.
SecureSlate checks the token, syncs your sites, domains and members, and runs the automated tests.
To change the token later, disconnect Netlify and connect it again. Disconnecting removes the synced sites, the Netlify accounts in User Access (including the owners you assigned) and the Netlify vendor.
Automated tests
Once connected, SecureSlate runs automated tests on your Netlify data. They cover HTTPS, two-factor authentication, logging and account access, and collect the evidence your auditors need.
To see which tests run and their results, open the Netlify integration and click Automated Controls and Tests, or go to Tests.
Troubleshooting
- "Invalid API token or access token. Please check your Netlify token.": the token expired, was deleted or was copied incorrectly. Create a new one.
- "Access forbidden. Please check your API token permissions.": the token's user can't read the team. If the team uses SAML SSO, create a token with Allow access to my SAML-based Netlify team selected.
- "No sites found on this Netlify account. Ensure your token has the correct permissions.": the token's user can't see any sites. Use a user in the team that owns them.
- "This Netlify token can reach 2 teams, which may include other organisations'...": the token's user is in several teams, so only the first team's members are read. Create the token as a user who belongs only to your team.
- "Members of Netlify team ... could not be read: access denied.": check the token and any SAML SSO enforcement on the team.
- "Netlify API rate limit exceeded. Please try again later.": wait a few minutes and try again.
Get started today at getsecureslate.com to connect Netlify and keep your sites and team access audit-ready.